
Summary
To get paid upfront for online appointments, use a booking link or scheduling page that requires payment before confirming the meeting and blocking the time. Set your appointment price, connect a payment processor, and display your cancellation and refund policy before checkout.
For consultants, coaches, advisors, and other professionals who charge for their time, managing scheduling and payments separately creates unnecessary administrative work and increases the risk of unpaid appointments, last minute cancellations, and no shows.
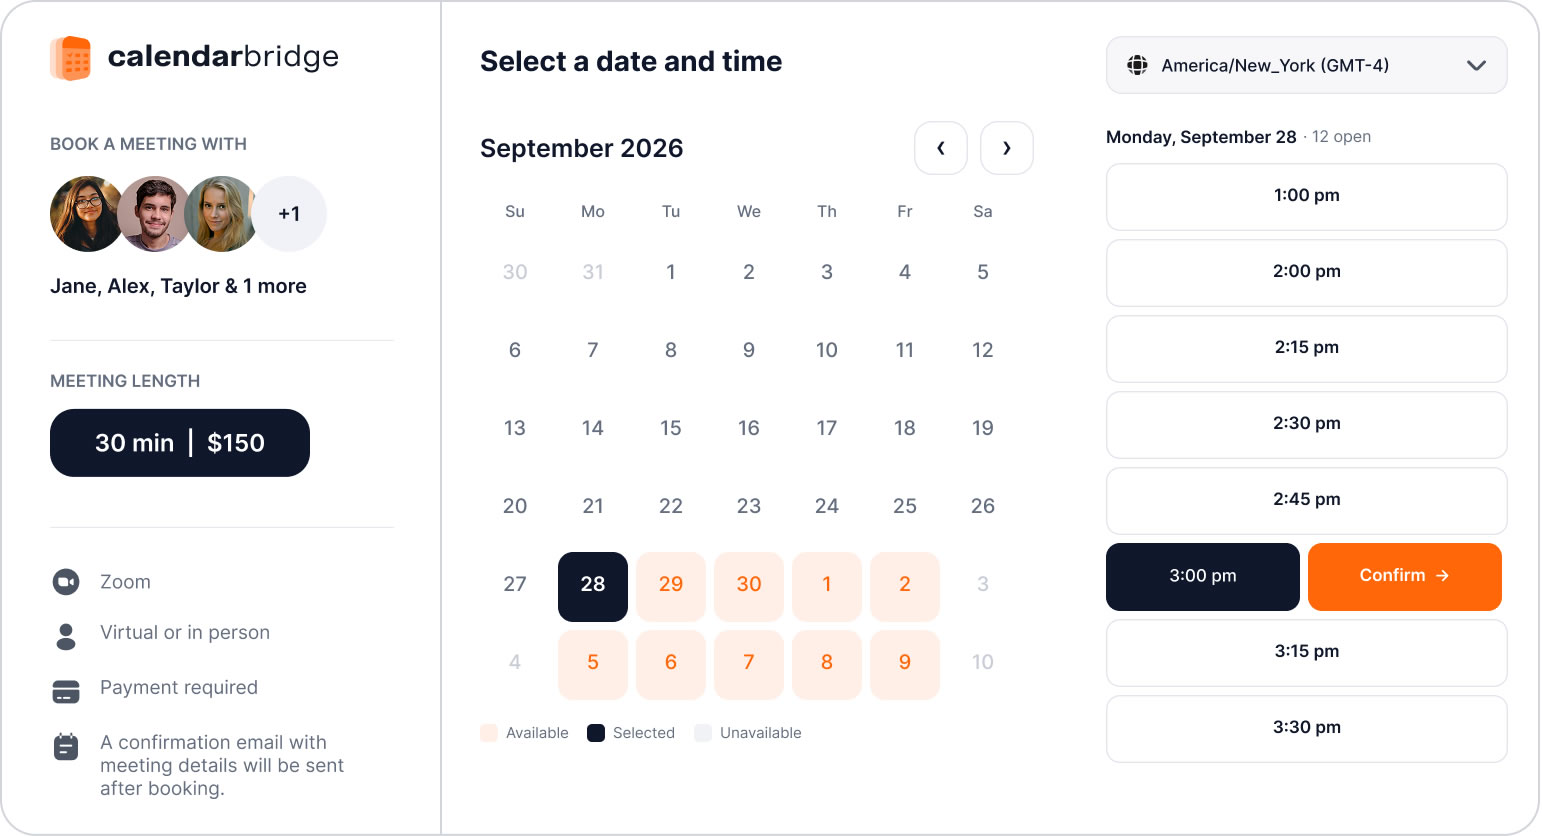
With CalendarBridge’s booking with payments feature, you can collect payments directly through your scheduling links using Stripe. Clients see the price when booking and pay upfront to confirm their appointment, eliminating the need for separate invoices, payment reminders, and follow-ups.
Why Collect Payment Before an Appointment?
Consider an independent IT consultant who receives an email from a business owner asking for help troubleshooting a software implementation. What starts as a request for a quick call could easily become an hour of technical advice.
Rather than giving that time away for free or negotiating a fee afterward, the consultant sends a link to book a $200 troubleshooting session. The client sees the price, chooses a time, and pays before the appointment is confirmed.
This allows professionals to charge for their expertise without having to discuss pricing or arrange payment with every client.
Collecting payment upfront also makes sense when appointments involve reserving time that could otherwise be booked by someone else. A pet sitter holding a holiday weekend or a tutor reserving a limited evening appointment risks losing income if a client cancels.
CalendarBridge makes it easy to secure appointments and collect payment upfront, all through a single booking link.
> Learn more about CalendarBridge scheduling pages and booking links.
How to Set Up Paid Appointments with CalendarBridge
CalendarBridge lets you collect payments through your scheduling links using Stripe.
Here’s how to set it up.
1. Create a Scheduling Link
Create a Scheduler in CalendarBridge, select the calendar you want to use, and set your appointment duration and availability. You can also account for availability across multiple calendars and automatically generate a Zoom, Google Meet, or Microsoft Teams link.
2. Connect Stripe and Set Your Price
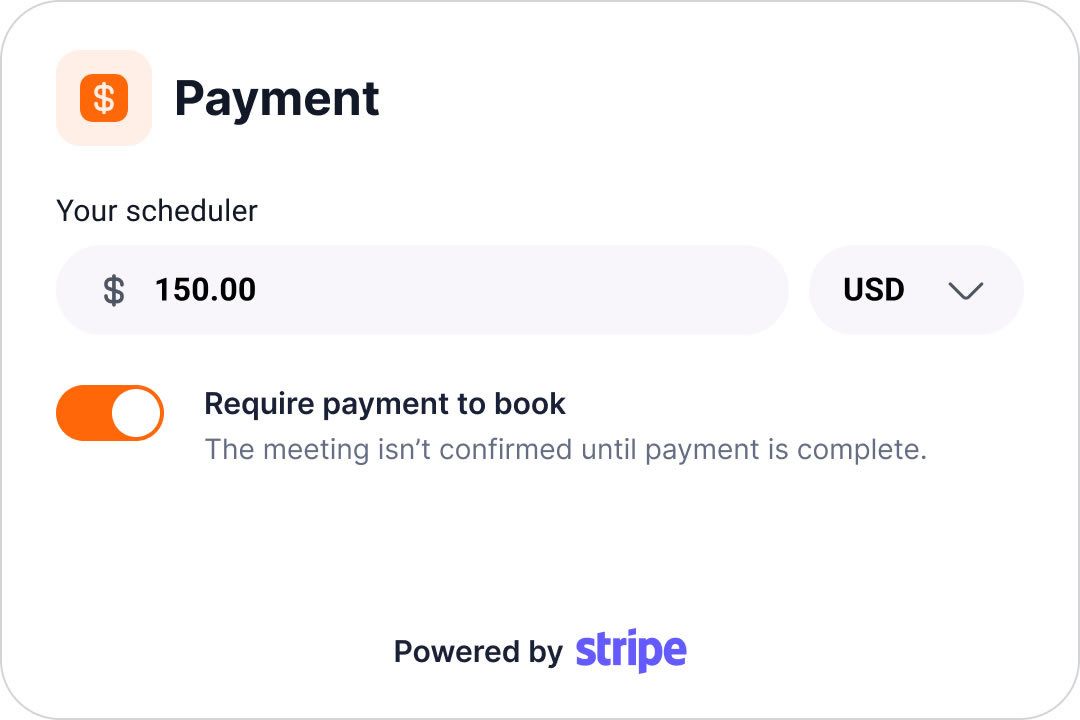
In Step 6 of the Scheduler editor, select Payments and connect your Stripe account. Enable Charge to book this link, then enter your price and currency.
You can set different prices based on appointment length or create separate scheduling links for free and paid consultations.
3. Choose Your Refund Policy
CalendarBridge offers three options:
- Always refund: Full refund upon cancellation.
- Never refund: No refund upon cancellation.
- Refund before a cutoff: Full refund if canceled before your specified deadline.
Your policy appears before payment and is automatically applied when clients cancel. If you cancel the appointment, the client receives a full refund.
4. Share Your Booking Link
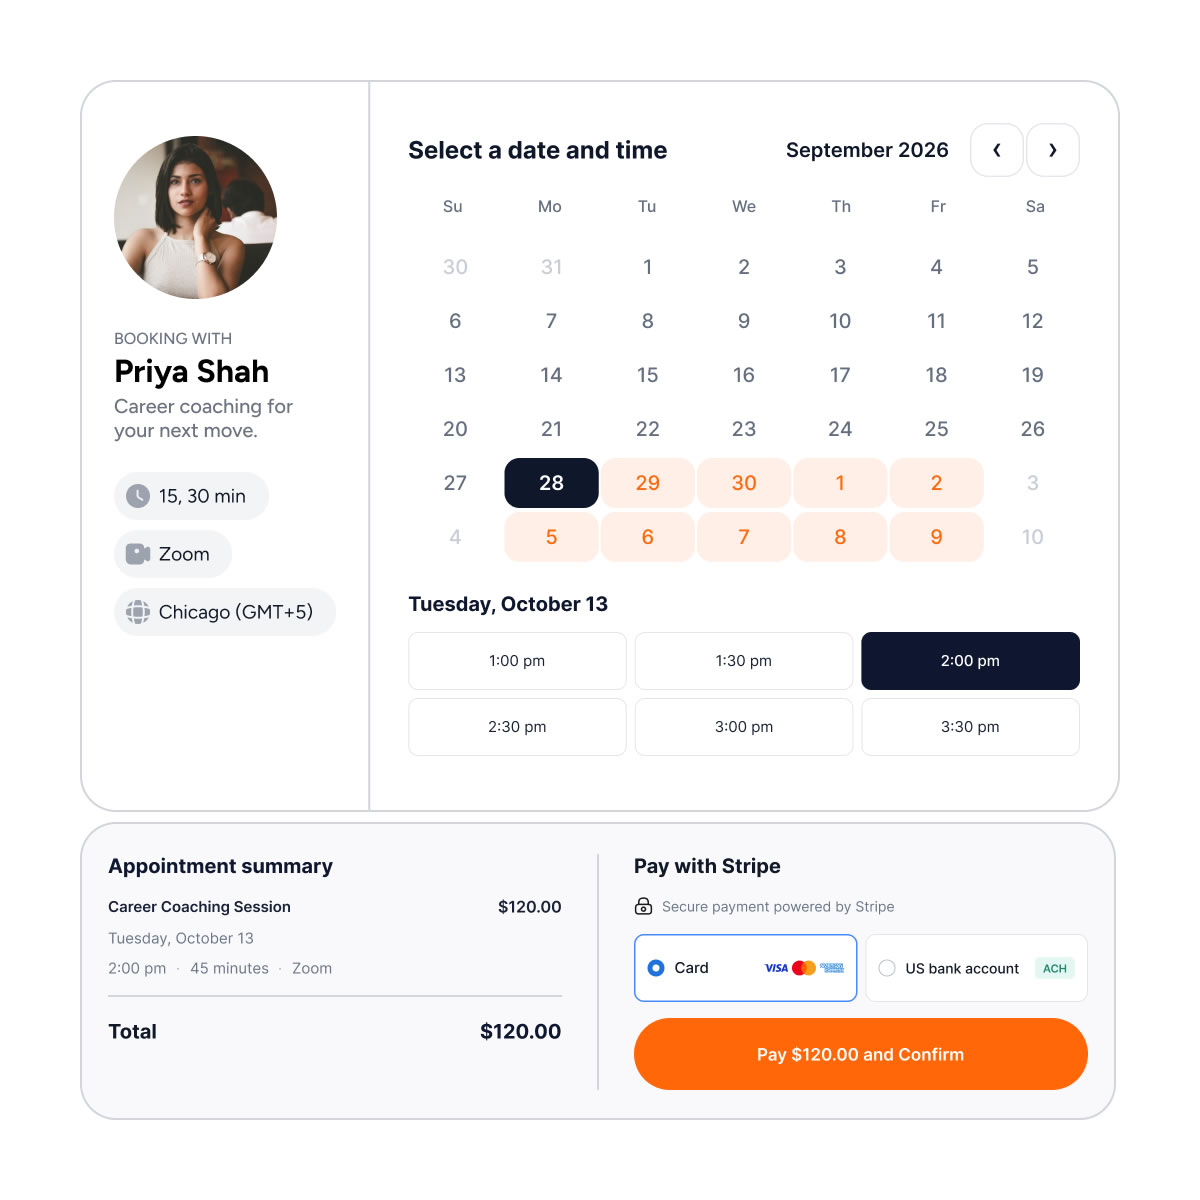
Publish your scheduling link on your website or share it directly with clients. They’ll choose a time and pay through Stripe before the appointment is confirmed and added to your calendar.
Stripe sends the payment receipt, and CalendarBridge sends the calendar invitation. Payments go directly to your Stripe account, with no additional transaction fees from CalendarBridge.
Make Payment Part of the Booking Process
For anyone who sell their time, an appointment represents more than a calendar event. It’s a commitment of time, expertise, and potential revenue.
Collecting payment upfront helps protect that commitment while eliminating much of the administrative work that typically comes with paid appointments.
CalendarBridge brings scheduling, payment collection, cancellation policies, and appointment communications together, allowing you to manage paid services without coordinating several separate processes.
> Learn more about the different ways Consultants can use scheduling pages and booking links with CalendarBridge.
Frequently Asked Questions
Yes. You can create separate CalendarBridge scheduling links for free introductory calls and paid services. For example, offer a free 15-minute discovery call and a paid 60-minute consultation. Enable payments only on the links that require a fee, so clients see the appropriate price and booking process for each appointment.
CalendarBridge does not add transaction fees or take a percentage of your appointment revenue. Payments are processed through your connected Stripe account, and Stripe’s processing fees apply. You can review payments in your Stripe dashboard, and transfers to your bank follow your Stripe payout schedule.
When an appointment is rescheduled through CalendarBridge, the existing payment stays in place. The client does not need to pay again simply because the meeting time changes. Cancellation is handled separately: if the client cancels, your selected refund policy applies; if you cancel the appointment, the client receives a full refund.